
 FABRIC MASK TUTORIAL
Featuring Snug Fit for People Who Wear Glasses (Anti-Fog)
SUPPLIES:
focus fabric (preferably quilters cotton)
quilter's cotton fabric for layering
Elastic 1/4 inch or Fabric binding (bias or straight) ties
Staples' 2 Inch Metal Self-Adhesive Fasteners
6 Clover Wonder Clips* Optional
Thread
Choose your fabrics. You'll need 3 pieces approximately 7" x 9" for each mask plus the two 7" each elastic or four approximately 18" fabric bias or straight binding ties.

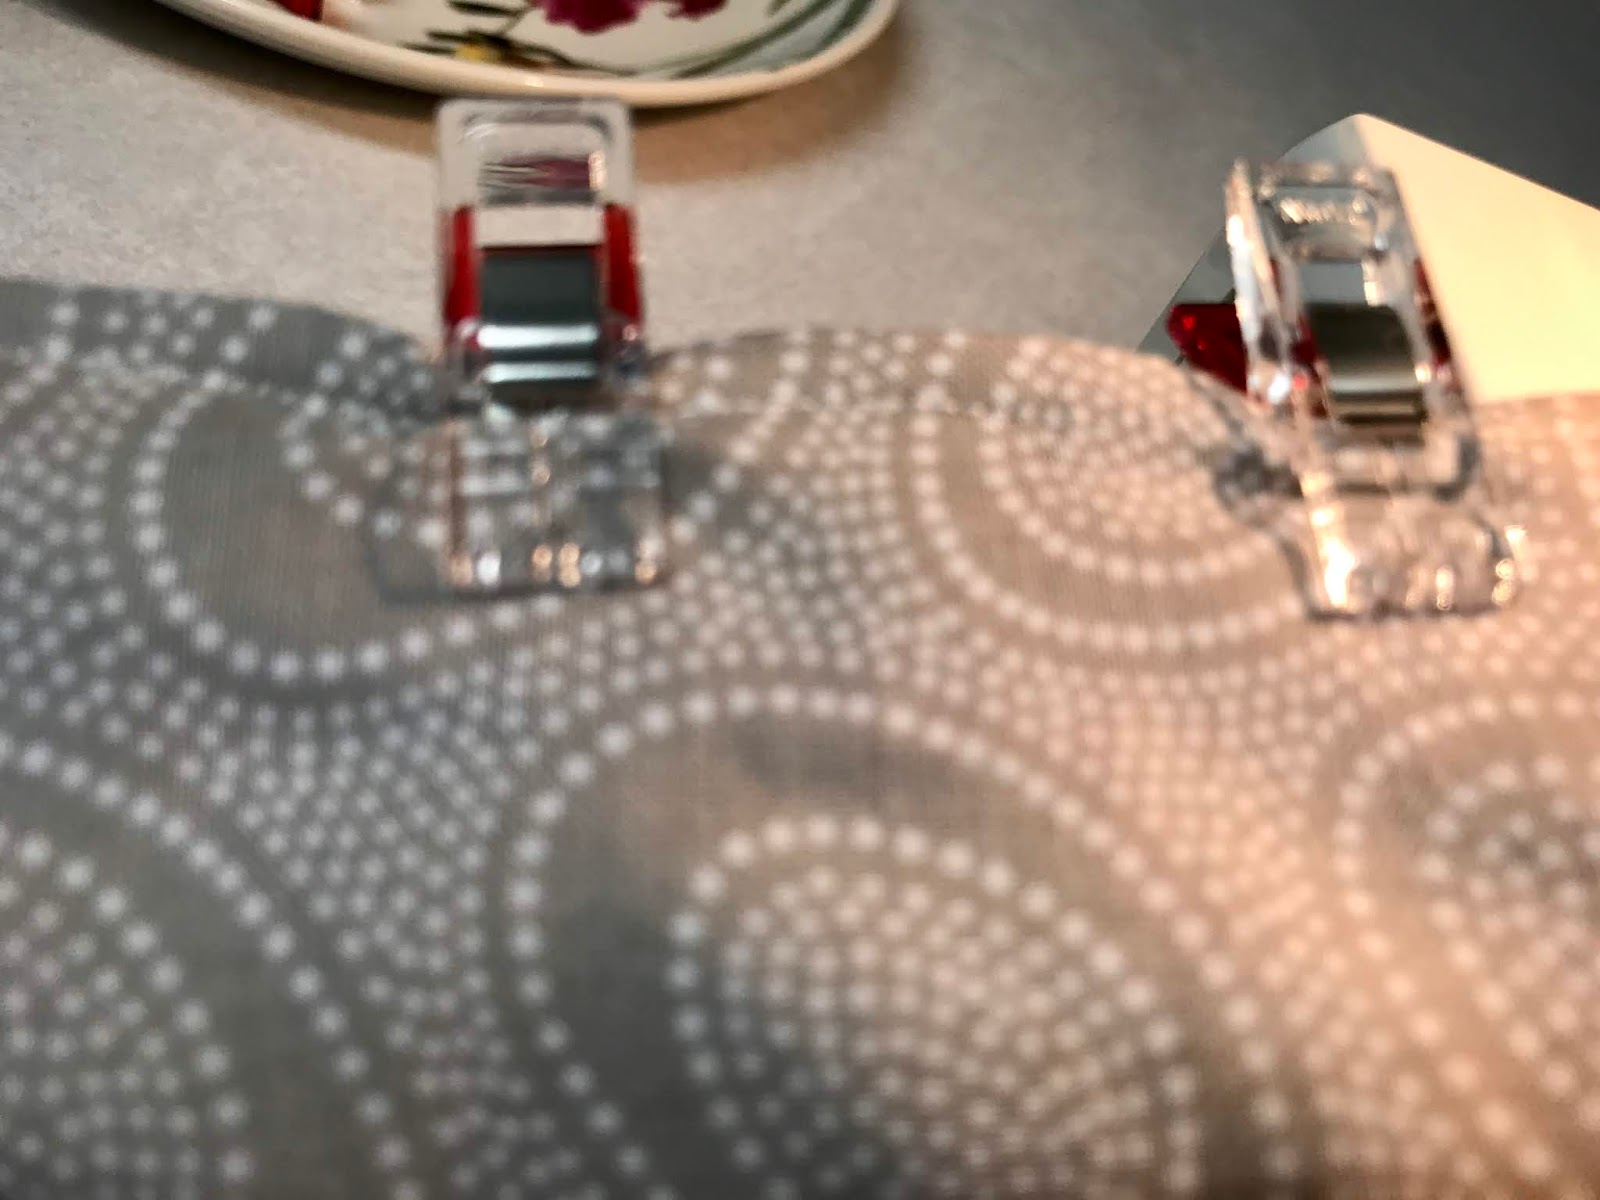
 Next, you'll line your fabrics up with the middle layer on the very bottom, the face or front fabric next and your elastic strips (7" each for average adults when using thin seams) kept in place with Clover Wonder Clips *may substitute with pins or small office binding clips but these are WELL worth the investment and you'll use them constantly. I use 6 to keep everything in place as shown in these photos.
If you're using fabric ties, you'll need to attach each with your Wonder Clips and keep all the lengths as close to the center as possible to avoid sewing through them. I stand 2 clips up to catch most of it (see photos).

 When you have your clips in place, add the back fabric next (that will be closest to the mouth/nose when complete) but make sure to keep the outer side facing down towards your focus fabric since you'll be turning the fabrics inside out once sewn. If you are working with directional fabrics, be sure to mark the correct up and down on this layer with a little arrow in the seam allowance.
Your fabrics should look like this sandwiched layer of goodies before taking it to the sewing machine:

At your machine, you'll be starting sewing near the middle of the top side of the sandwich. Once you get comfortable doing this, writing directions on the visible current top layer will not be necessary. Be sure to tack down the start to prevent issues in turning. My seams tend to be about 3/8" for the inner layer then I trim before turning.


As you make your way around the rectangle, tack the elastic/ties several times and tack down the final segment, leaving about 2 inches for turning and placing the metal nose piece.


Trim excess fabric to about 1/4" seam. Turn your fabrics out carefully and be sure to use your pointer or finger at the corners.


Press your rectangle top (focus) fabric and backside 3rd layer flat first. Next, place 2 folds and press those as well. I reinforce the folds with Clover Wonder Clips. Next, I fold down the sharper, thinner points on the Staples' Self-Adhesive Fasteners so that it looks like this:

Turn over the fastener to remove the sticker backing, allowing the adhesive to show. Tuck the strip into the opening but make sure that it is not close to the top seam as you'll be sewing a scant 1/4" topstitch there. I place the folded points outward so they don't irritate the nose over time and after multiple washes.


 Next, you'll be closing the top opening and securing the folds with a topstitch using scant 1/4" seams. You may need to guide the bulk of the folds with a seam ripper. If so, be careful not to go too far in as you'll break the needle of your machine.


 Make your final row of sewing, locking the nose piece within the channel and you're finished.


No comments:
Post a Comment
Your comments are always welcome. :)