12.07.2010

Feeling Festive

The cookies are baking, decorations are up & the shopping is almost done. Handmade goodies bring out the procrastinator in me, so we'll see how the plans go this year.

Christmas favorites are playing on the computer, thanks to the fantastic free site, GROOVESHARK...love it! But if you're new to the site, be sure you check your play list before blaring it for company...

Mr. Fabulous and I were putting the tree up and a not so sweet seasonal song popped up. We were both caught off guard and glad the kids were too busy playing to notice.

A search for the word Christmas will bring up a whole list of options to pick from. 

If you'd like to limit the wackiness, be specific about the artist(s).

Choose play all and eliminate songs afterwards by clicking on the x on each album cover...it's much easier than choosing individual songs and adding them in one at a time.

I had no idea the Beach Boys did a double holiday album but do remember jamming out to Little Saint Nick as a young girl. Now that I've previewed their collection, I'll be able to save it and play for company without having to fuss with CDs or commercials on the radio.

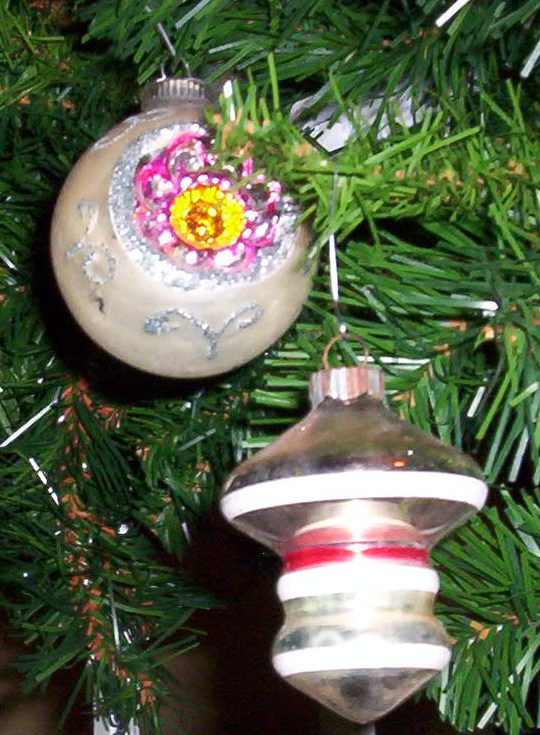
The ornaments in the pictures (with the exception of Snow White) are Shiny Brites. I adore vintage ornaments, SO Retro & Fabulous! Snow White was a fantastic summer find...all 7 of her dwarfs joined her on the gold & cranberry tree this year.


11.24.2010

Celebrating a LONG Weekend at Home

Nothing says home like a warm fire on a cold day, good food and great company....unless of course you also make time for a little sewing room break or some handwork to busy yourself while you catch up with everyone.


Time to prep your handwork so you can get everything done, fabulous multi-tasking hostesses!


I'll be getting around to the triangle that has been on hold since last week and thinking of another project, thanks to Beth of Love Laugh Quilt.  Isn't her home at the top of the post adorable?

I'm planning a house or two, adding them to her bloggy neighborhood giveaway. Be sure to stop by and say hello and check out the details while you're there.

Happy Thanksgiving and Best Wishes,
Heather


11.17.2010

Needle Case Tutorial


Start with a 9 x 5.5 inch piece of solid fabric or strings/selvages foundation pieced. You can find more information about foundation piecing selvages on the Selvage Squares tutorial.


You'll also need a 9 x 5.5 inch piece of felt for the cover lining.
 
 
Place the pieces right sides together and sew a quarter inch around the perimeter, saving about an inch and a half as your opening on a long side {avoiding corners}. Be sure to reinforce both sides of the opening since you'll be using this area to turn your fabrics.


Carefully turn, starting at the corner farthest from your opening. Use a point turner to keep your corners crisp once it's been completely turned (right sides of fabric should be showing at this point).


OPTIONAL: I like to clip the edges of the corners to minimize bulk. They'll look a bit rounded if you choose not to do this step.

Press both sides, taking care to tuck under the 1/4 inch felt fold at the opening. This will be your mark for closing by hand.


Blind stitch your opening closed.

 Next, you'll cut 2 pieces of felt 8.5 x 4.5 inches for the inner pages of your needle case. Fold in half and press the center line (this is your line of sewing). Do not worry about final edges out of alignment. You'll use your pinking shears to finish the edge soon. Center your pages along the pressed mark of both pieces of felt and the felt lining. Sew in place.


Fold the pages together and bring the sides of the cover up to check placement.


You'll be removing about a 1/4 inch from the ends of the pages with your pinking shears. If you do not have pinking shears, you can cut them with scissors but you may want to mark your cutting line.


 Next, find the center of the booklet and place a button near the edge of the cover opening.

 Choose a ribbon about 5" long that will work well with your cover button as your closure. Pin the ribbon checking the placement.
Sew the ribbon in place with a few quick stitches on your machine.


  Clip the ribbon ends and dab a bit of Fray Check to the raw edges. 


Seeing Scarecrows


There's nothing like fussy cut scarecrows and rows of corn to remind you of a midwestern autumn. Pieced triangle 8 came together smoothly.

Heather

11.14.2010

Triangle 7

Well, this was an interesting one...there were no paper piecing instructions for number 7. Hmm. I wonder how often that pops up. I drafted my own instructions and am pretty pleased with this one.


Happy Quilting,
Heather
=)