

Freezer paper method melons (or orange peels) will require some preparation before beginning this set of steps. Instructions are provided in order on the Applique Tutorials Tab.
For this section, I always begin near the middle of one side of the melons and work counterclockwise with small stitches hidden by the applique. This continues one stitch at a time around the melon/peel until about an inch of sewing remains. At that point, I remove the freezer paper before finishing up the final inch. Photos should be helpful in pointing out each of the steps below.


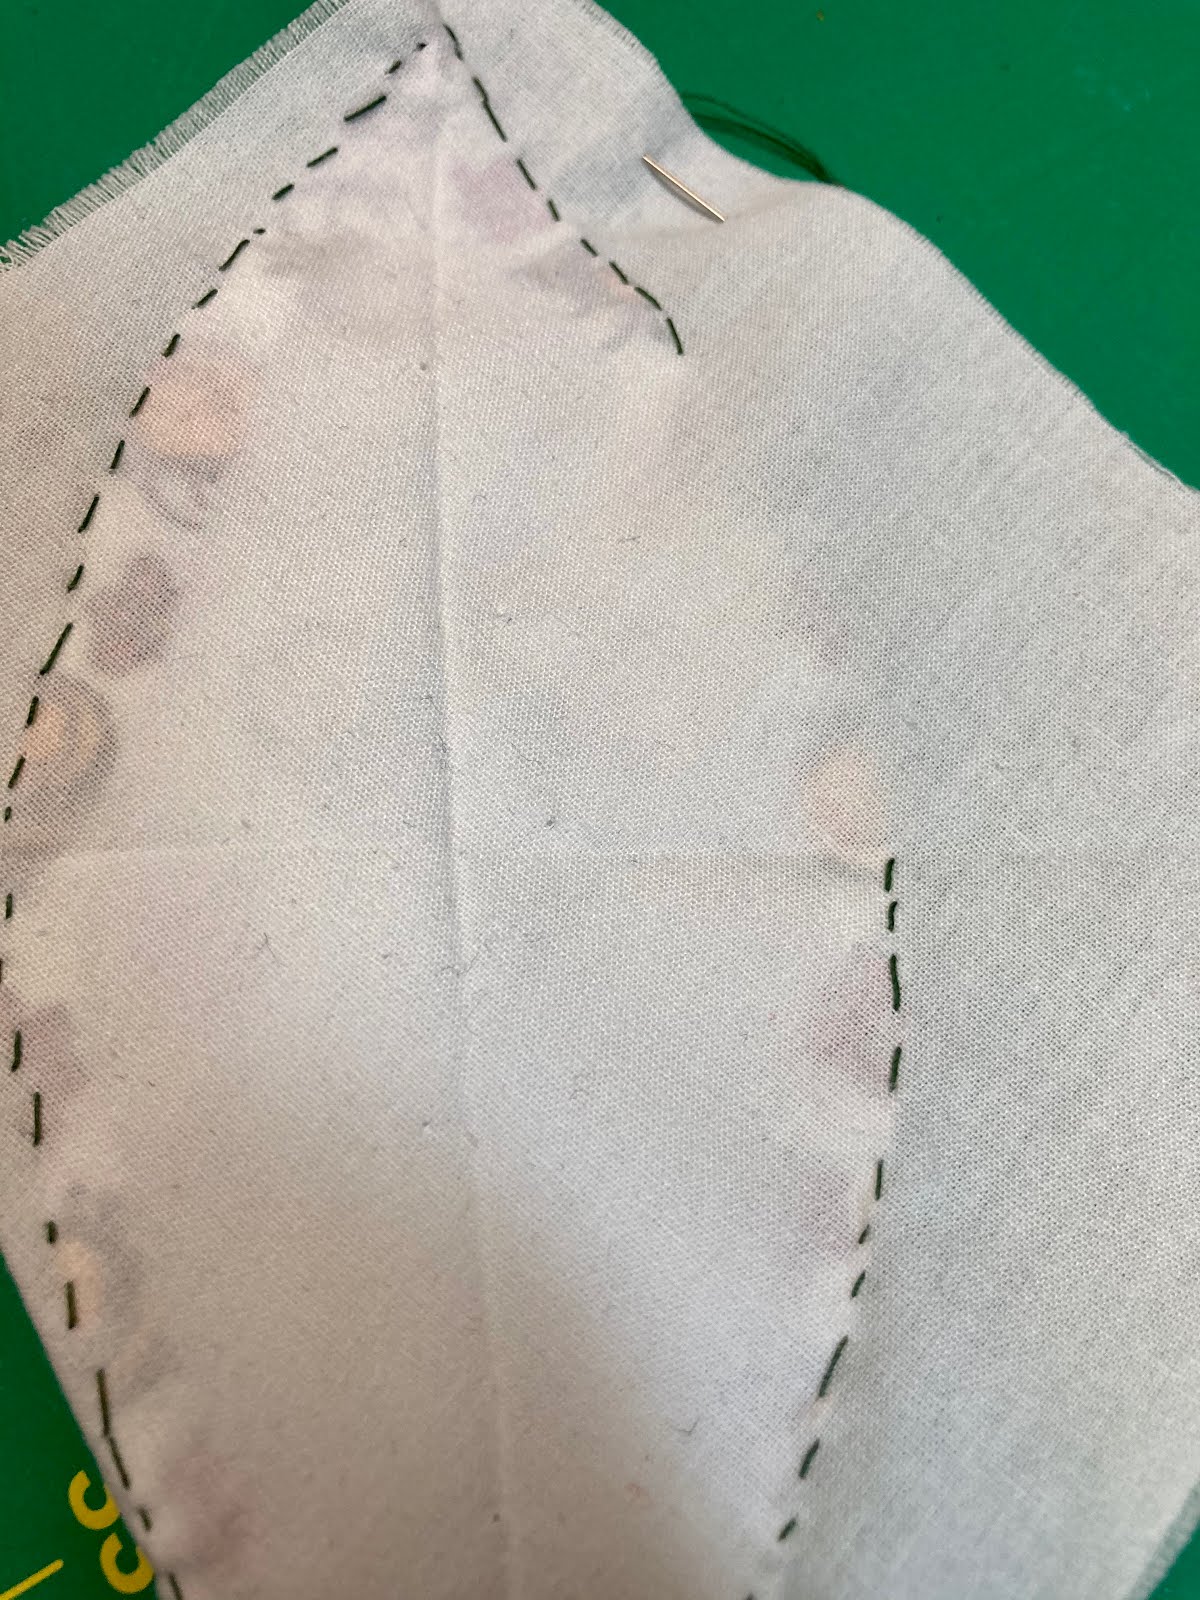
I begin my sewing by creating a small knot in the end of the thread (shown in contrasting quilting thread so it is visible). As in the top photo, I enter the underside of the seam at the edge of the melon then tuck that seam and keep it down by pinching my sewing as I move around the melon.


 I sew just one stitch at a time as I move counterclockwise around my shapes, making sure to pinch my work as I go to prevent knots in my thread and to keep the seam allowance tucked. I'm grabbing a bit of background fabric underneath the melon and just a bit of fabric at the edge of the shape before pulling the thread through and making another stitch into the background fabric, repeating continuously until I get to the points.


 At the very tip of your shape, bring the needle through the point and again straight down into your background fabric to maintain a pointy point (for other visuals of this process, see pointy points photo tutorials & sweeping the points). Next you'll tuck any remaining fabric beneath your line of sewing. This process takes a few tries at first, please do not get discouraged. Be sure to check out the Sweeping the Points photo tutorial for better photos for this stage.

Once your fabric is under the point(s) and out of your line of sewing, continue to work with small stitches around the curve until you have about an inch remaining. At this point, loosen your freezer paper melon carefully (especially if you are using silk thread). Pull the shape out and finger press your final inch of seam allowance.


Usually, I'll place a few extra stitches along or beneath my shape before making a tiny knot. If you create larger knots, be sure it's hidden well below your shape.


Press your final melon after cutting the end of your thread and add it to your finished pile. Congratulations, you've completed an orange peel or melon shape.

Happy applique on the go,
Heather
No comments:
Post a Comment
Your comments are always welcome. :)