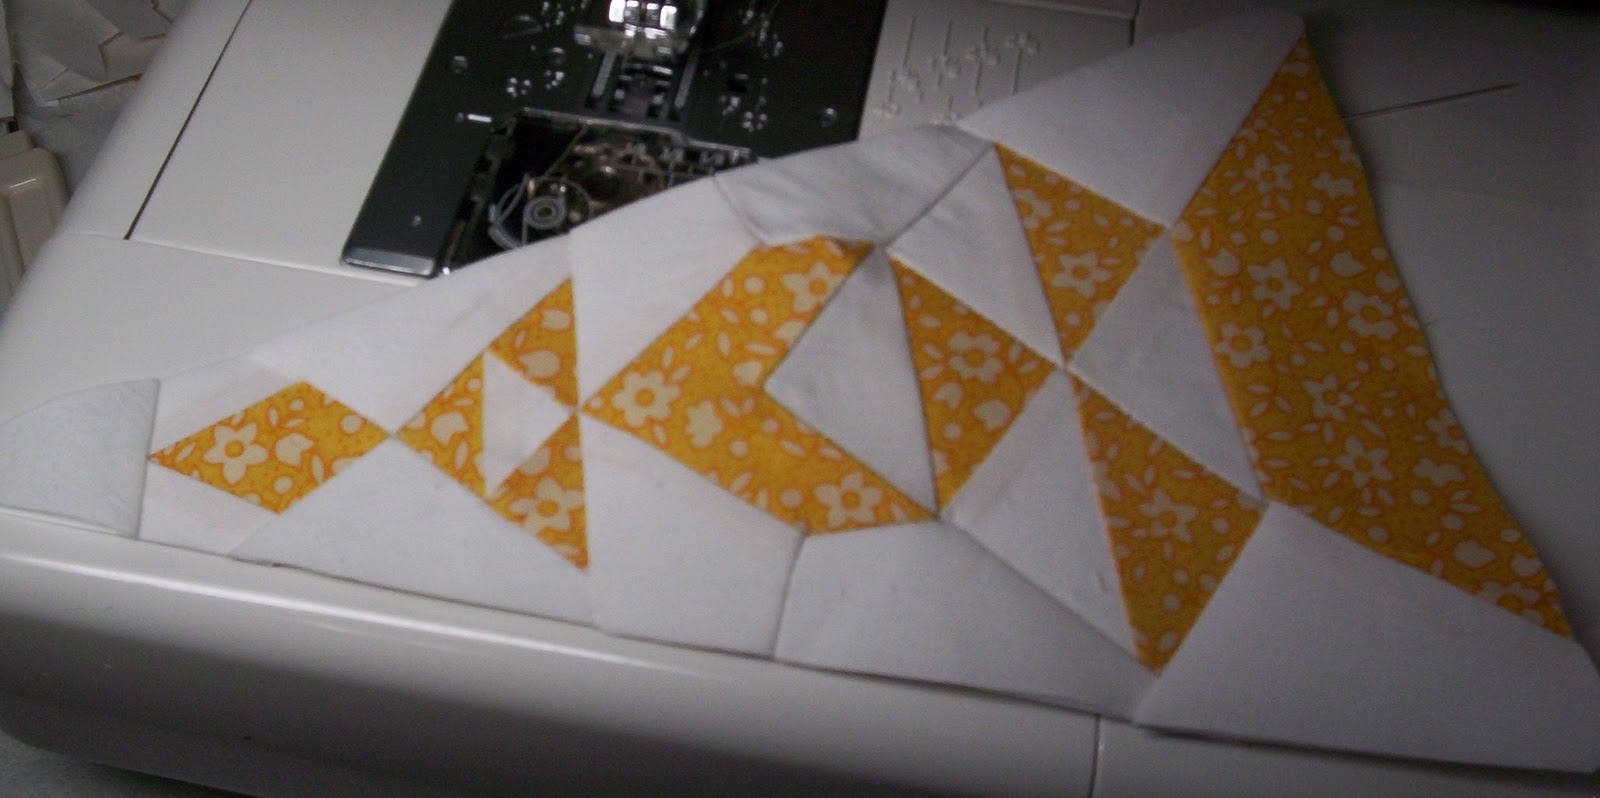
Start with a 9 x 5.5 inch piece of solid fabric or strings/selvages foundation pieced. You can find more information about foundation piecing selvages on the Selvage Squares tutorial.

You'll also need a 9 x 5.5 inch piece of felt for the cover lining.

Place the pieces right sides together and sew a quarter inch around the perimeter, saving about an inch and a half as your opening on a long side {avoiding corners}. Be sure to reinforce both sides of the opening since you'll be using this area to turn your fabrics.
Carefully turn, starting at the corner farthest from your opening. Use a point turner to keep your corners crisp once it's been completely turned (right sides of fabric should be showing at this point).


OPTIONAL: I like to clip the edges of the corners to minimize bulk. They'll look a bit rounded if you choose not to do this step.
Press both sides, taking care to tuck under the 1/4 inch felt fold at the opening. This will be your mark for closing by hand.

Blind stitch your opening closed.

Next, you'll cut 2 pieces of felt 8.5 x 4.5 inches for the inner pages of your needle case. Fold in half and press the center line (this is your line of sewing). Do not worry about final edges out of alignment. You'll use your pinking shears to finish the edge soon. Center your pages along the pressed mark of both pieces of felt and the felt lining. Sew in place.

Fold the pages together and bring the sides of the cover up to check placement.

You'll be removing about a 1/4 inch from the ends of the pages with your pinking shears. If you do not have pinking shears, you can cut them with scissors but you may want to mark your cutting line.

Next, find the center of the booklet and place a button near the edge of the cover opening.

Choose a ribbon about 5" long that will work well with your cover button as your closure. Pin the ribbon checking the placement.
Sew the ribbon in place with a few quick stitches on your machine.

Clip the ribbon ends and dab a bit of Fray Check to the raw edges.