


Start with a 9 x 5.5 inch piece of solid fabric or strings/selvages foundation pieced. You can find more information about foundation piecing selvages on the Selvage Squares tutorial.

You'll also need a 9 x 5.5 inch piece of felt for the cover lining.

Place the pieces right sides together and sew a quarter inch around the perimeter, saving about an inch and a half as your opening on a long side {avoiding corners}. Be sure to reinforce both sides of the opening since you'll be using this area to turn your fabrics.
Carefully turn, starting at the corner farthest from your opening. Use a point turner to keep your corners crisp once it's been completely turned (right sides of fabric should be showing at this point).


OPTIONAL: I like to clip the edges of the corners to minimize bulk. They'll look a bit rounded if you choose not to do this step.
Press both sides, taking care to tuck under the 1/4 inch felt fold at the opening. This will be your mark for closing by hand.

Blind stitch your opening closed.

Next, you'll cut 2 pieces of felt 8.5 x 4.5 inches for the inner pages of your needle case. Fold in half and press the center line (this is your line of sewing). Do not worry about final edges out of alignment. You'll use your pinking shears to finish the edge soon. Center your pages along the pressed mark of both pieces of felt and the felt lining. Sew in place.

Fold the pages together and bring the sides of the cover up to check placement.

You'll be removing about a 1/4 inch from the ends of the pages with your pinking shears. If you do not have pinking shears, you can cut them with scissors but you may want to mark your cutting line.

Next, find the center of the booklet and place a button near the edge of the cover opening.

Choose a ribbon about 5" long that will work well with your cover button as your closure. Pin the ribbon checking the placement.
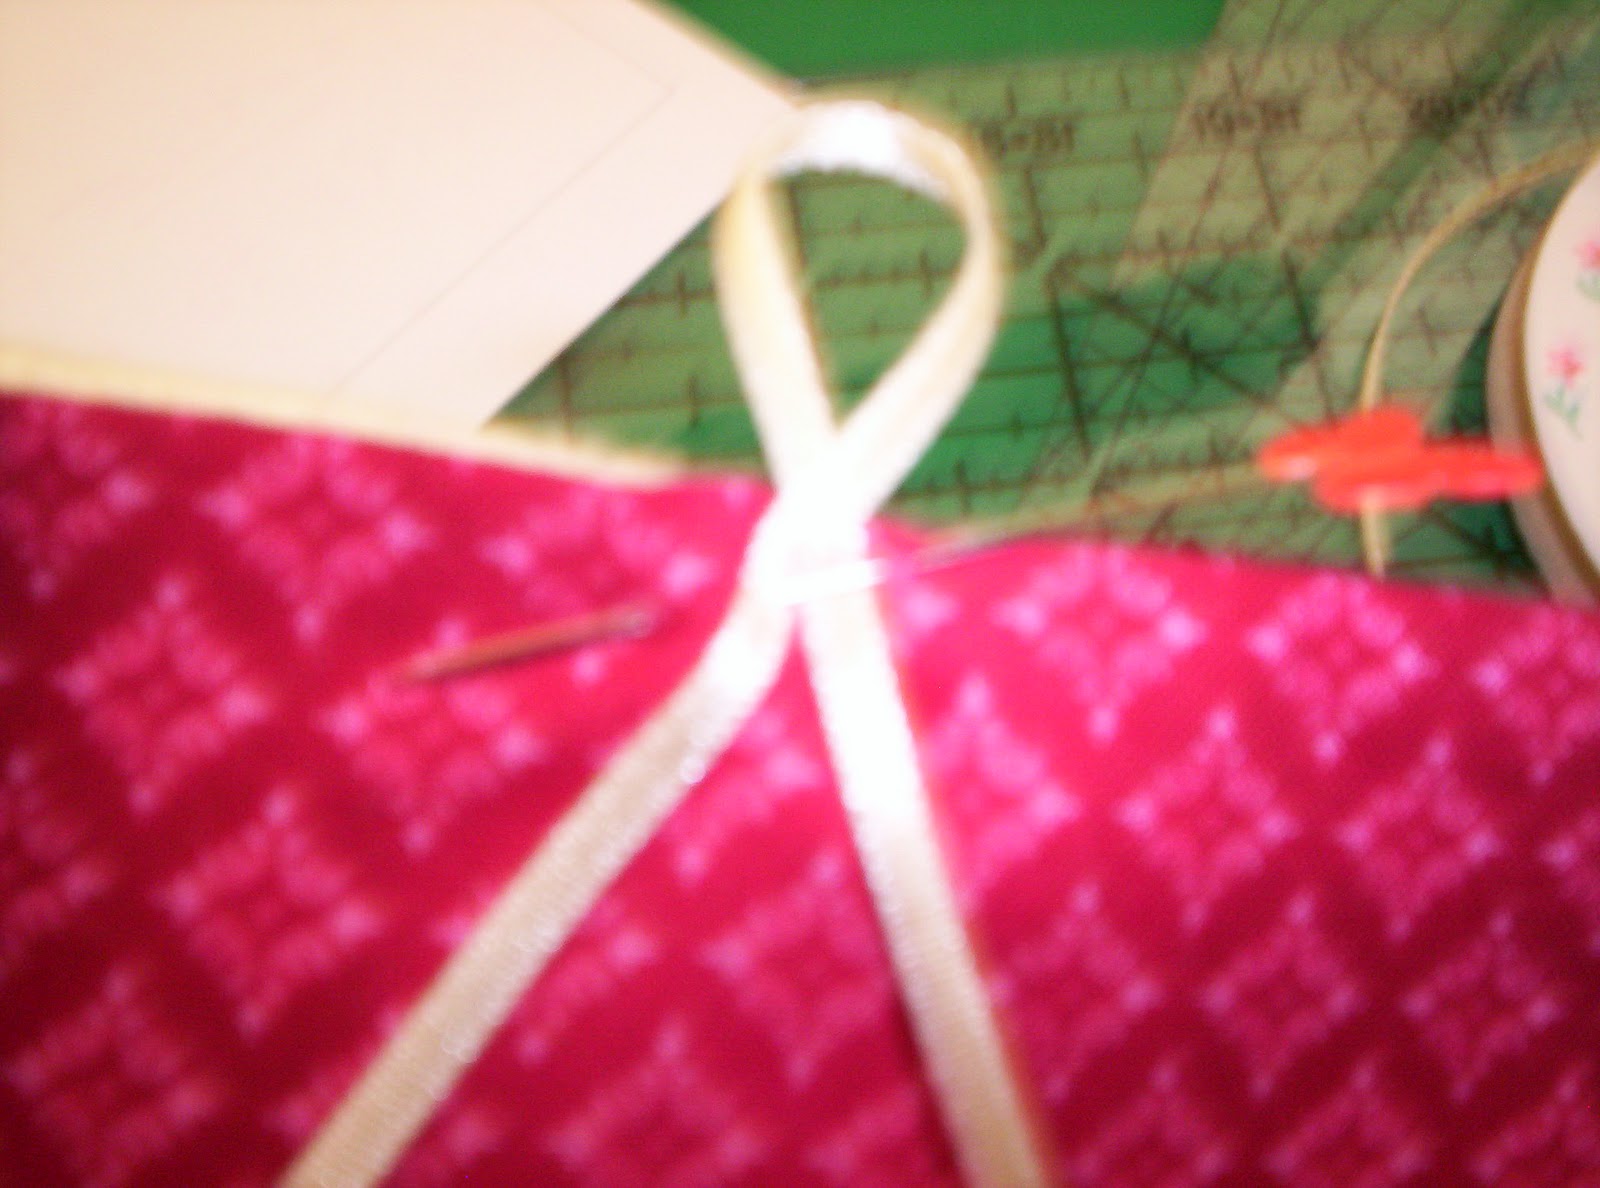
Sew the ribbon in place with a few quick stitches on your machine.

Clip the ribbon ends and dab a bit of Fray Check to the raw edges.


I've got such needle case made by Heather and it's lovely! So if you don't have a needle case, make sure you'll make it following this tutorial:)
ReplyDeleteTotally making one of these tonight. So cute - and a great gift for friends who sew. Thanks for putting this together!
ReplyDeleteI use my selvages to tie up my tomato plants. They are really yummy. Just sayin'.
ReplyDeleteSo cute! Thanks for the instructions!
ReplyDeleteGreat, I really like the needlecase you sent me Heather, this tutorial is quite timely, some needlecases will make great Christmas gifts.
ReplyDeleteWhat a great tutorial! You made it look so easy...and I love the selvedges used for this. I saw where you enjoy volunteering. My husband and I just returned from four months volunteering in south Louisiana at a Methodist mission - a fabulous trip. We're going back next summer for June and July. blessings, marlene
ReplyDeleteWhat a great idea! Great tutorial, too.
ReplyDeleteFun tutorial...love the selvedges too!
ReplyDeleteVery cute cases; great gift for fellow quilters/stitchers!
ReplyDeleteYou are so clever! Miss chattin with ya!
ReplyDeleteJenn
Great tutorial - thanks for explaining so well.
ReplyDeleteHi! Greetings from Finland! Your quilts are so fantastic! It's so nice to find other quilters all around the world! www.quiltworld2.blogspot.com
ReplyDeleteYours, Ulla