
Back basting method is simple and once prepped, can be completed pin free for on the go work. You'll begin by placing your actual size template on the backside of your background fabric and trace the melon shape. Pin your bias scrap to the front of the background fabric, focus fabric also facing up and pin in place temporarily. At this point, your melon shape is visible on the backside and if you flip over to the top side of the background fabric, the focus fabric should be facing out as well.
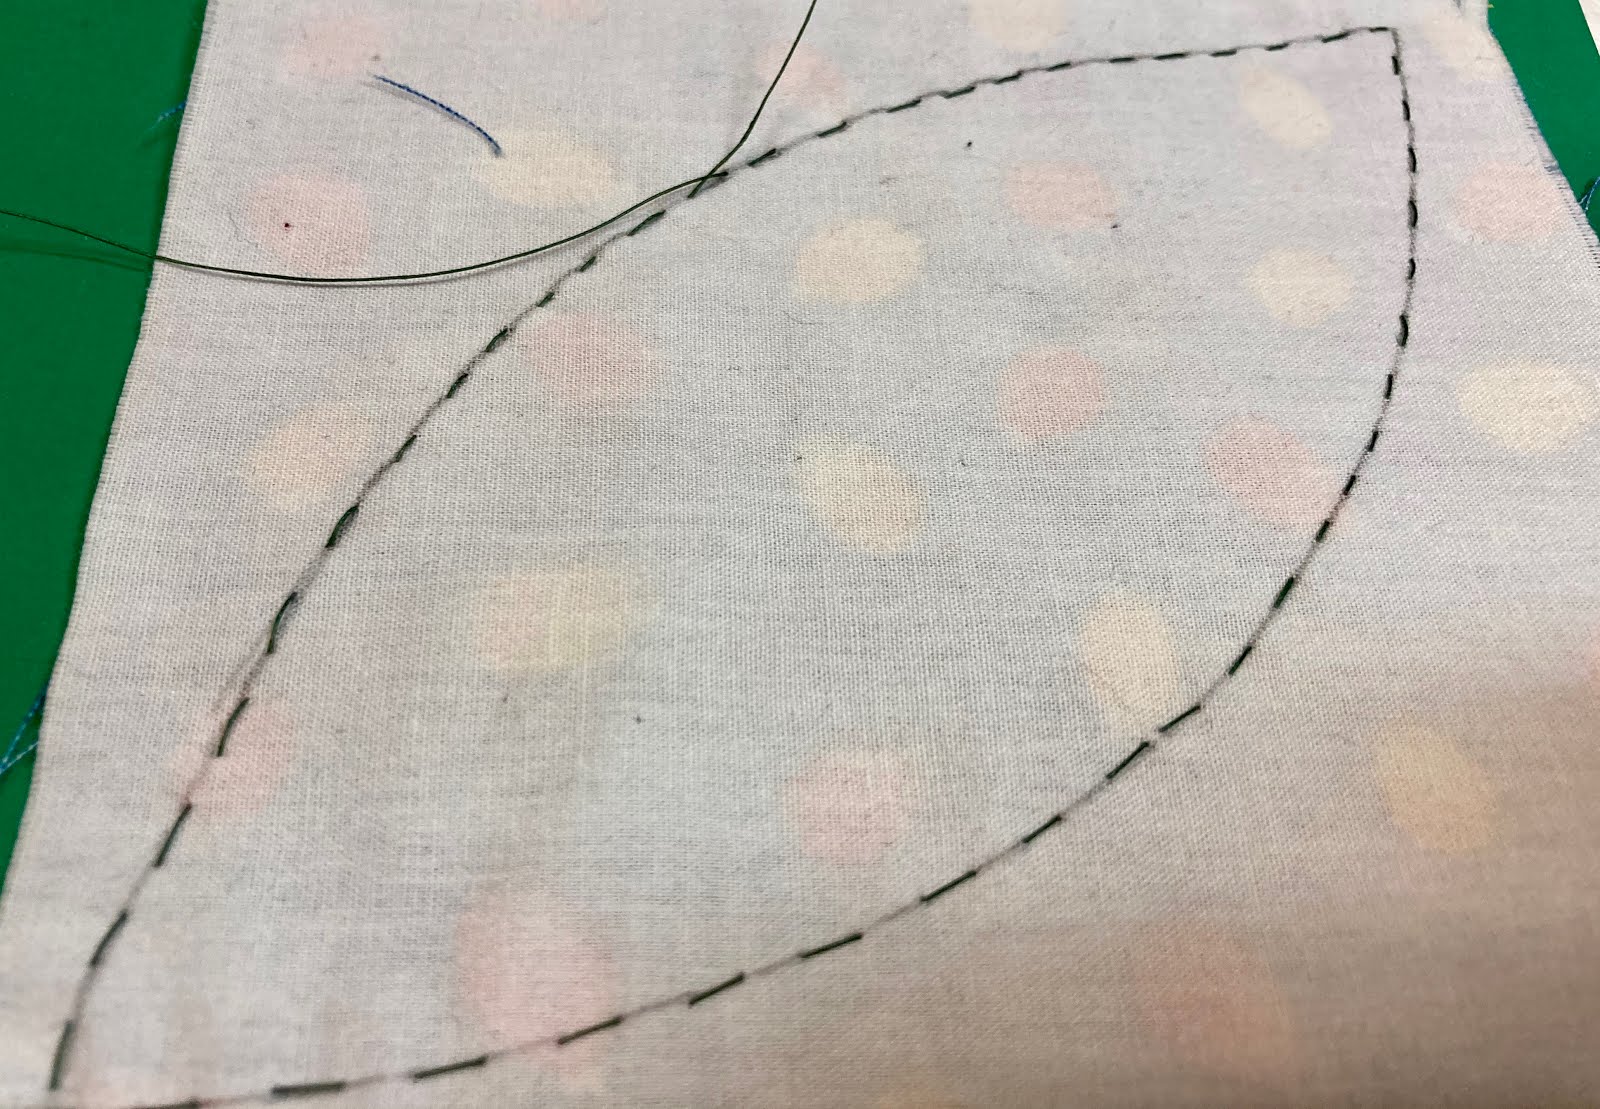
Flip back to the backside of your chosen background fabric where the melon tracing is. Using a contrasting thread and a larger embroidery type needle, begin a running stitch without any knots in your thread. Work your way around the shape on the line of sewing. You'll be using this as a guide for pinching the seam allowance soon.
Once you've worked your way around the melon and have no knots in your thread, switch to your applique thread and needle. Next, you'll mark the seam allowance of the full shape (add a 1/4" allowance to your actual size template if the original is not handy.
Now mark your bias piece of fabric with the full shape, cut the excess fabric, being careful not to cut through your background fabric.
When the melon shape plus seam allowance is cut and basted, remove the pins holding the two fabrics together. You will not need them moving forward for this block.
You're now ready to begin to applique the melon shape. Remove 3-4 running (back basting) stitches from the center right of the shape. Finger press your seam allowance and start your line of sewing by pulling your applique thread through the back of the melon shape underneath the seam allowance.
Stitch into the background fabric and then your shape, working your stitches around the shape as you have practiced previously. Carefully stitch your pointy points and practice sweeping the seam allowance as you move counterclockwise.


